The painting of Macedonian and Persian Cavalry
Dated: January 11, 2003.
By Roland Kupski of Germany.
Painting of test sprues of Hät 8047 and 8076.
"After publishing some of my figures on this web-site, a lot of people asked me how I paint my figures. So I decided for your and my own pleasure to make a little documentation "making of". I hope you will enjoy it and find some new ideas for your own work. I have learnt a lot by observing others and reading tips.
First act: Coming into contact with the figures.
Have a look on my working place first. It is always chaotic.
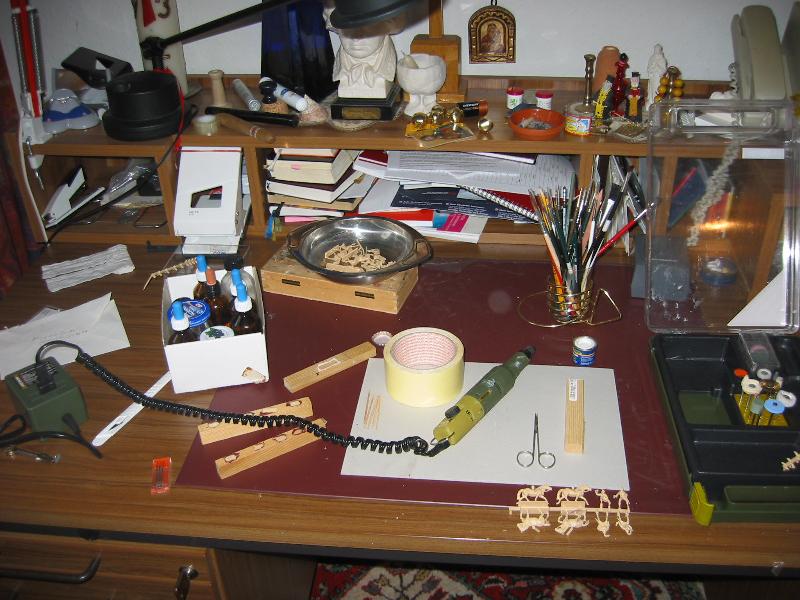
The beginning is one of the most troublesome activities: removing flash. But it is important to work with thoroughness. And you are coming in contact with the figures. Sometimes I give them names and create a little scene in my head, so the figures become alive for me.. I use a scalpel and a nail scissors.
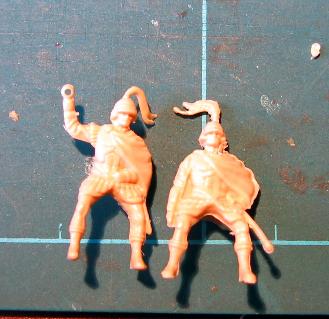
Next step is cleaning the figure with soap in a bath, sometimes I use a toothbrush.
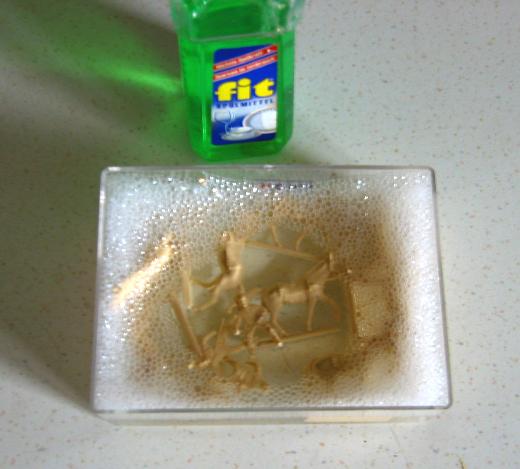
So I can control if I have really removed all flash. Then drying them (on the radiator).
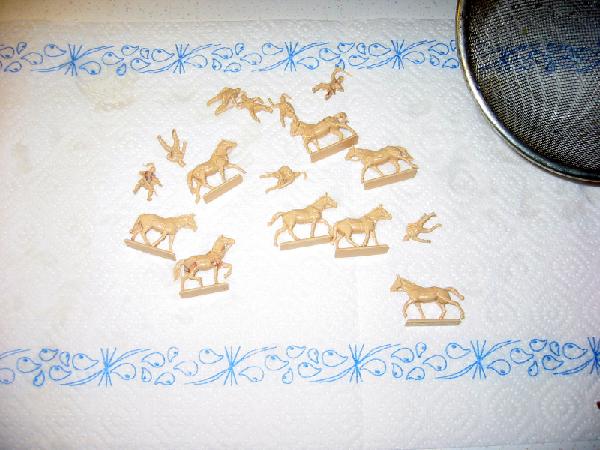
Second act: Preparing for painting.
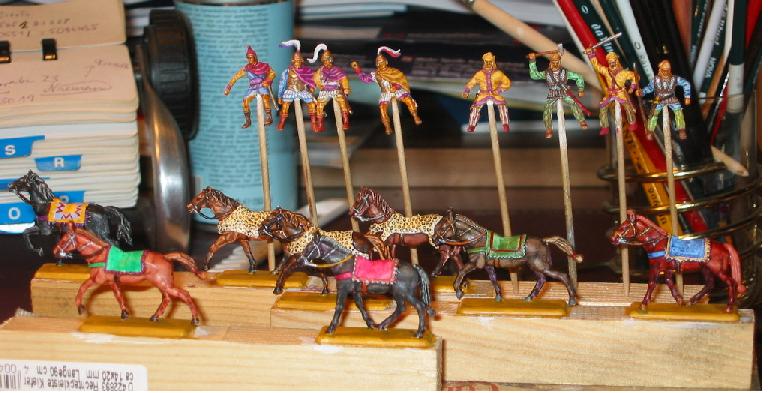
Now the riders were fixed on a toothpick, using a drill. It feels a little odd to do this..
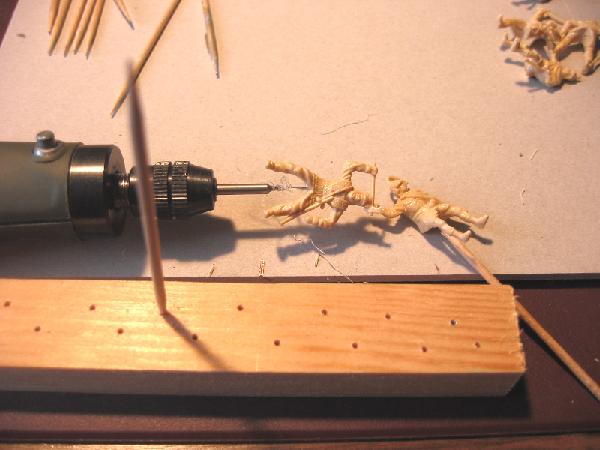
The horses are fixed with double-sided adhesive tape on little blocks of wood. The toothpicks are also fixed on an block with little holes, where you can put them down for drying.
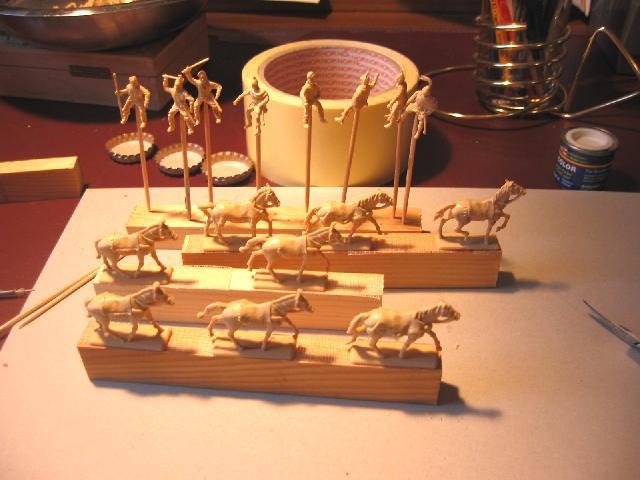
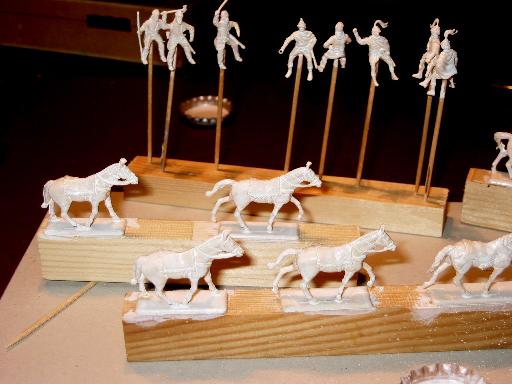
Now they get a undercoat with thin - very thin, like ink - white enamel colour (Revell, Humbrol etc), thinned with turpentine. You must use a thick and hard brush for doing this. Look for colour running into groove!. After doing this let them dry a night. Now you can see every details clearly.
Interlude: Investigation
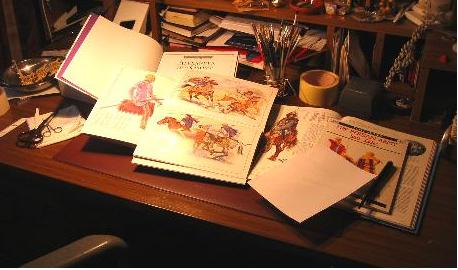
When the figures are drying I am studying literature and investigating Web-Sites. Now I decide which colours I will use, which weapons were used and other information about the historical and artistic background.
Sometimes you must decide between different opinions, e.g. Connelly or Osprey? Which opinion is more plausible? And which opinion is represented by the figures? An example: the figures of the Macedonian Cavalry are wearing boots. My source don't show me boots, only sandals. But I think, there must be a reason for doing boots. So I look for boots in ancient times.
Or the colours: purple - is it a kind of deep red (like the german word "Purpur" means)? Or is it a pale violet? Osprey shows us a very pale violet. It looks strange to me. But it is right, other sources confirm it. The armour: bronze or iron? Polished or not? Sources are speaking about armours, sparkling in the sun. and so on. It is not only a research, it is also a process of creative decisions.
Third act: Painting
First I make a undercoat with thin acrylic colours, very pale. After washing with dark water colour (Gouache) you can see this colour as the "light" and the dark watercolour as shade.
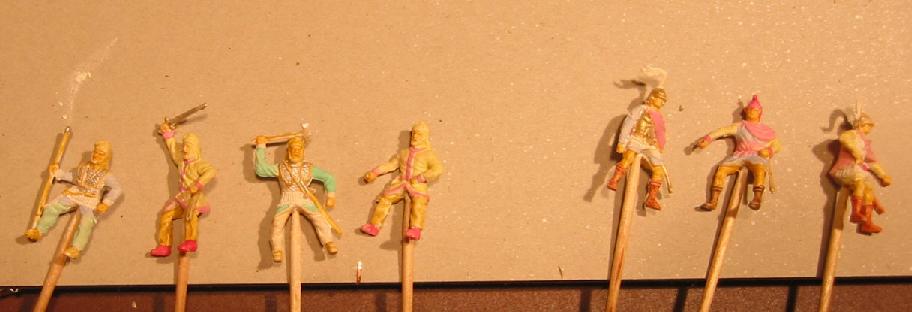
It's a very simple technique of fast painting, a kind of washing. For example: The faces are painted with acrylic light siena. Then I use burnt siena or umbra (for the Persians) watercolour. When the watercolour is dry, I wipe with a dry brush (or with the thumb!) over the figure an the structure will come to light. If needed, you can make a drybrushing with flesh-paint (red, yellow, white) to highlight the nose, the chin and the forehead. This part is somewhat delicate, because the water colour is not very resistant. Be careful! But the effect is tremendous! And if you have failed: remove the watercolour and do it again. No risk! Iron armour is very simple: silver acrylic, black watercolour, wiping, ready. And bronze: gold and copper acrylic mixed, then burnt siena watercolour: perfect! And if you like it: drybrushing with gold or silver on the highest parts- sparkling in the sun....
The horses are more delicate to handle. I use two methods: the watercolour-gouache method with pale undercoat as decribed above or the more tricky method using Aquarell-colour. The result of the gouache-tempera method is a very soft shading. The other method, developed and teached to me by Hans-Karl Weiß, works out a hard shading: first you make a dark violet undercoat with acrylic colour. Then (and I forgot to make a photo) you paint every high position on the figure with the light version of the later colour of the horse. For example: The horse shall be a brown one. So you use siena or ochre for the high parts. Only the grooves remain dark - the later shadows. The horse will look somewhat strange and over-shaded - but now you overcover the whole horse with aquarell siena like a varnish. That´s the main difference to the gouache-tempera method: the gouache filles the grooves and the lights remain, the aquarell makes a varnishing and balances out the hard contrast of light and shadow! So finally you have to remove this varnish after drying with a wet brush (only water!) from the high parts of the figures - astonishing effect, but it needs some training and patience to learn it. Once you have got it, it will be a real fast-painting technique.
Summary: The tempera-gouache method of shading is a light-to dark-washing method, the aquarell-method is a dark-to-light-varnishing-method. You can see the prepared horses for both methods on the following pic:
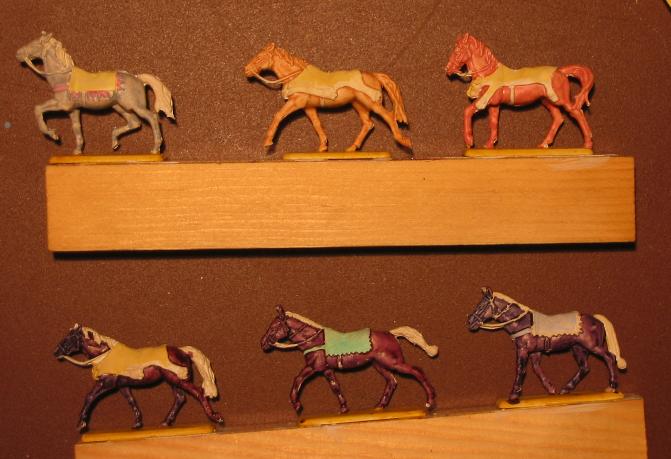
The upper horses are prepared for the tempera-gouache method, the violet horses for aquarell-technique. And the results:
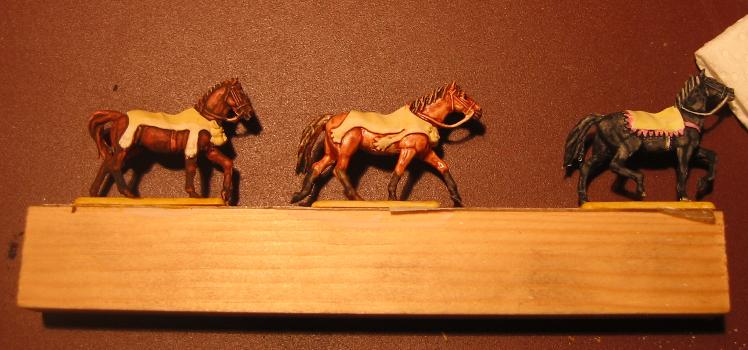
These horses (above picture) are washed with gouache.
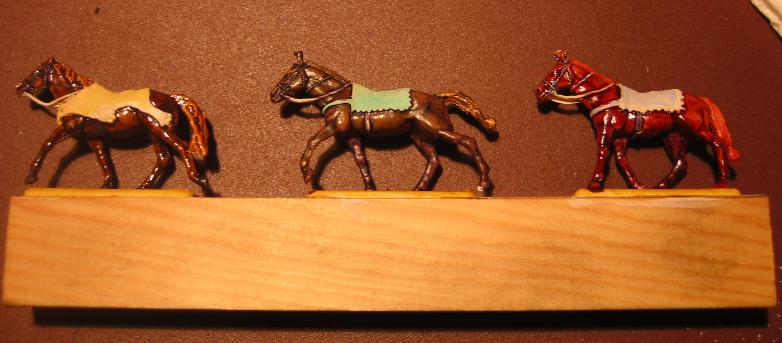
And this (above picture) with the aquarell-method. The gouache-method works best if the figures are very deep engraved, the aquarell method allows to work out more structure. It's a question of taste. You can decide. And I am not a master of this method, I am always learning. Give me hints if you know a better method of painting horses!
All the other details are painted with gouache-tempera. The difference to acrylics is obvious: You can remove it simply with water. For training you can use the watercolour-box as used by pupils. But artists' gouache-tempera has such a fire and fine structure - Once you have worked with it, you will love it! Some features of this type of colour a very tricky, so you can dissolve it every time with water or with the colour of the next coat.nice effects are possible. You can use it very thick like a paste (and modelling fine structures!), you can use it like an ink. Principally this method is a type of washing. But it works only on an undercoat of acrylic colour! If you use enamels or oil-colour it will not work! And a final hint: Give a dash or more of window cleaner (usually soap with alcohol and ammonia) in the water, the colour will run much better!
Because we have used watercolour, the results must be fixed with matt varnish - but don't use a brush! You must use a spray or an airbrush, because a brush would destroy your work!!! Now our braves are ready to be varnished
Now I fix weapons or other equipment, using my scratchbox
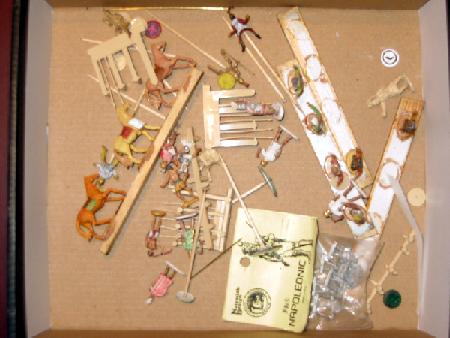
The spears are made of thin brass-wire. One of the figures has a groove on one side for the spear and a ring hand (an accident from the factory). I decide to give him a scroll of papyrus in his hand: a message of the king? So the pose will be plausible without conversions.
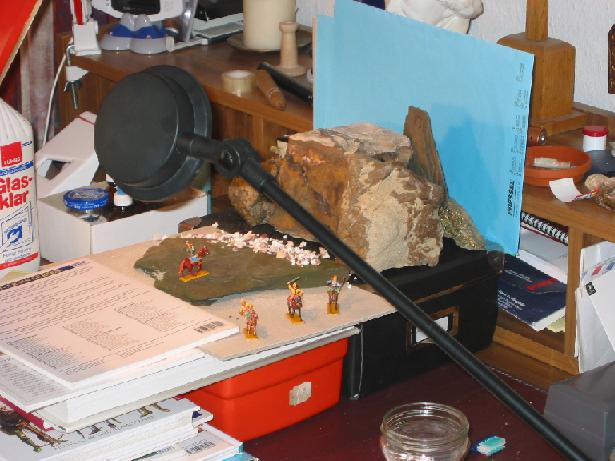
Last act: Photosession.
Since I own a digital-camera, I like to photograph the figures. Not only to present them, but for my own pleasure. So I can prolong the phase of joy with the figures - and sometimes the camera is a hard critic, every detail comes to light..
So I hope you have been amused, and please excuse my simple and somewhat curious Englis (and be happy that you need not hear my djerrrmann akxennt)."
Roland Kupski.
Many thanks to Mr. Roland Kupski.