Late War French Artillery step by step!
Dated October 25, 2008.
Part 1 - First stages
During the Weekend I was able to prep some of the new HäT testshots I mentioned a while ago in my blog http://modusregmagnimomenti.blogspot.com/. The subjects involved are Late War Artillery sets for the USA and France. Both include a 75mm gun and caisson but my testshots only included one for the Americans. Funnily enough I will use my gun for the French as I will paint the American set up as Commonwealth troops and give them metal British guns. here are the sets as I got them and after cleaning up.
Step 1
First we remove the parts from the sprue. To do this I use a sharp craftknife and a cutter.
The French set:
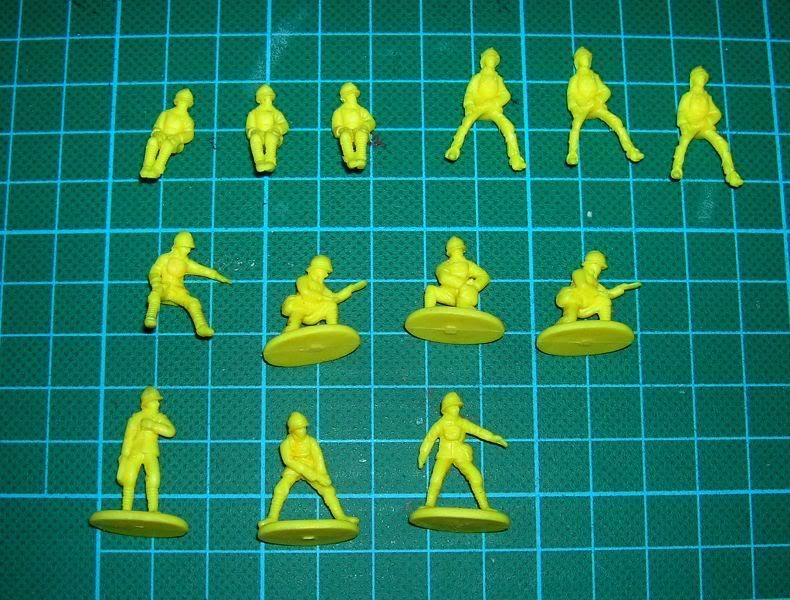
Step 2
The American set (including the gun and caisson in a phase of semi-completion).
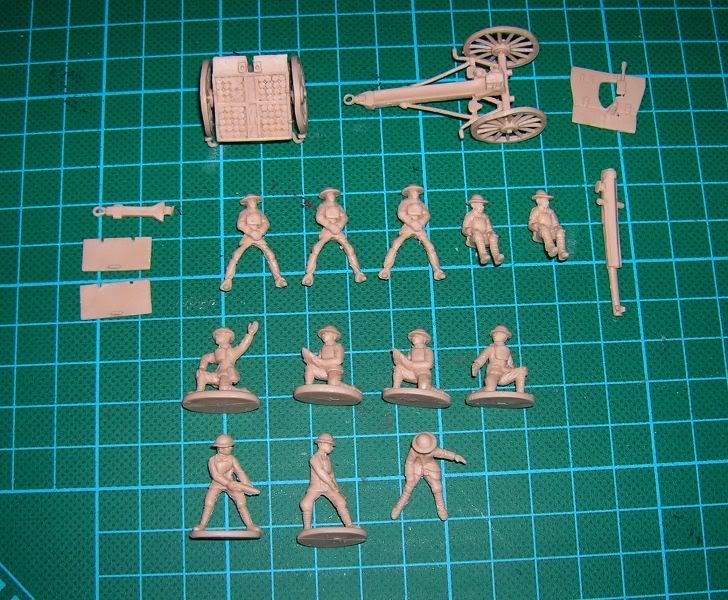
Step 3
The top row of each photo shows the limber riders and traindrivers. Each artillery set will include the appropriate riders and drivers but a separate set of limber and horse teams will be released later to save space and money. Top notch thinking from the guys and gals at HäT! The bottom two rows are made up of the gun crews themselves as you can see. I am assured that the "nice" yellow colour of the French figures is only on the testshot sprue. Here you can see the riders and drivers impaled and ready to receive the usual black basecoat:
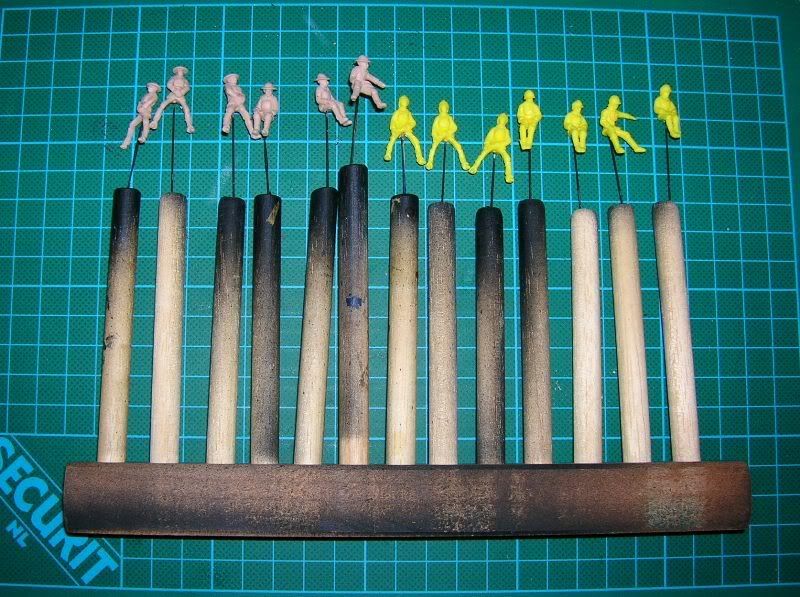
Step 4
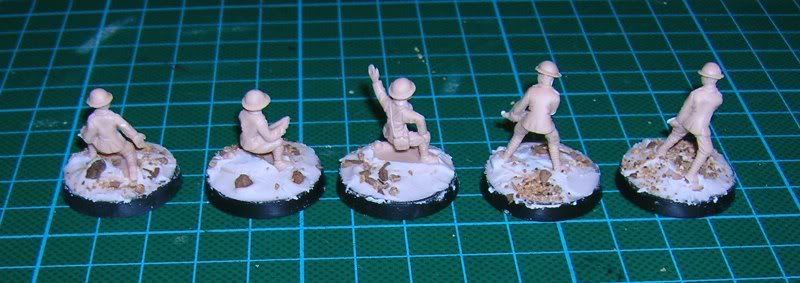
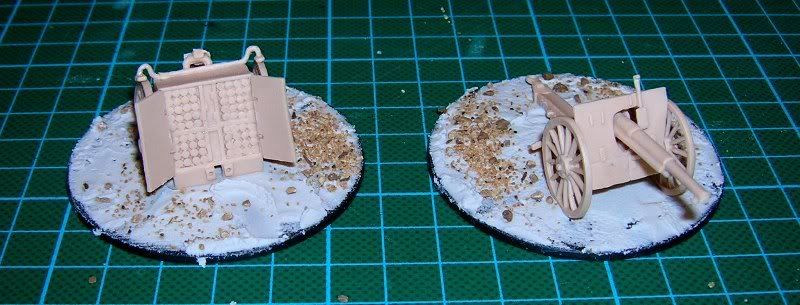
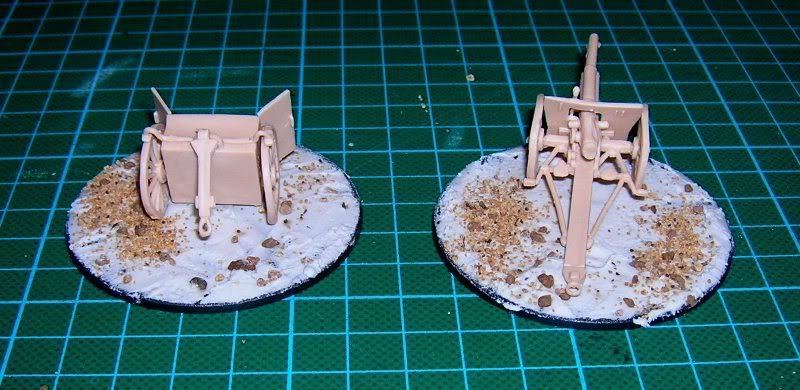
Well work is progressing steadily. I have based the 'ground crews' and gun/ caisson as you can see below.
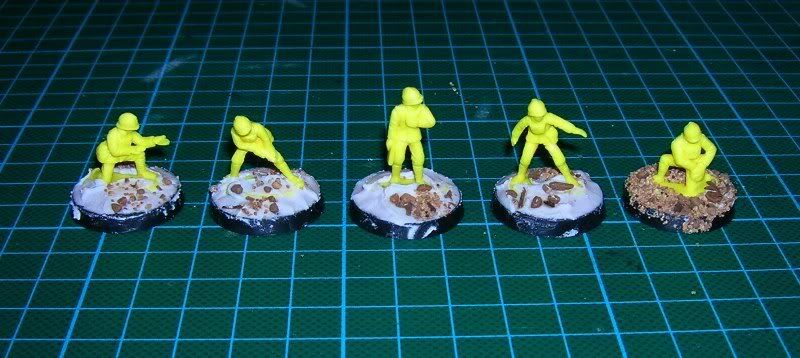


While you can see I have already fitted and based the gun and caisson, the first thing I will do when putting together the model, is dry-fitting them. This means putting all parts together to see whether their fit is well enough to be glued together. Sometimes you need to widen a hole or cut down a peg (no pun intended) or two so that a wheel or shield fits on the receiving structure or figure.
Part2 - Let the Painting begin!
Step 5
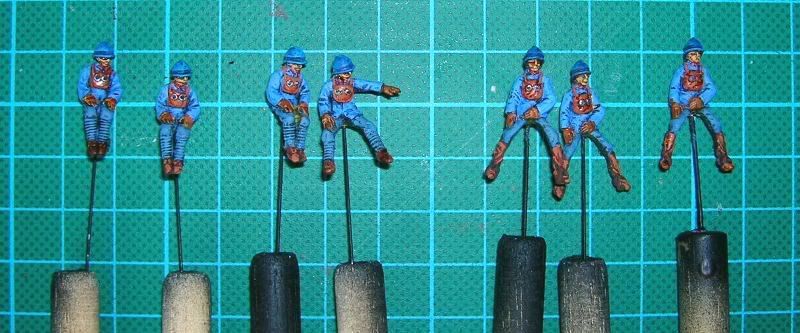
I have begun painting the French limber riders and drivers.
By now you will have noticed that although these figures are testshots, I have based them for wargaming. I used to put my painted testfigures onto specially made bases but since I have ran out of my supply and they take up loads of space in my cabinets I decided to use the figures in my wargames armies right away.
As you can see here's a WIP picture of the (almost) finished French Artillery drivers and riders. The hands need some highlighting and I am still thinking what to do with the eyes. Since these will feature in my wargames army I am considering to not paint them...
Step 6
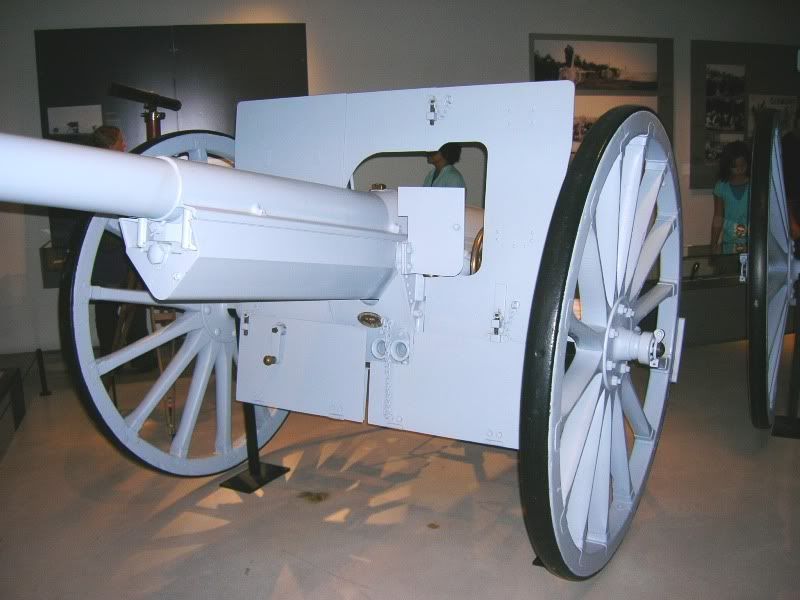
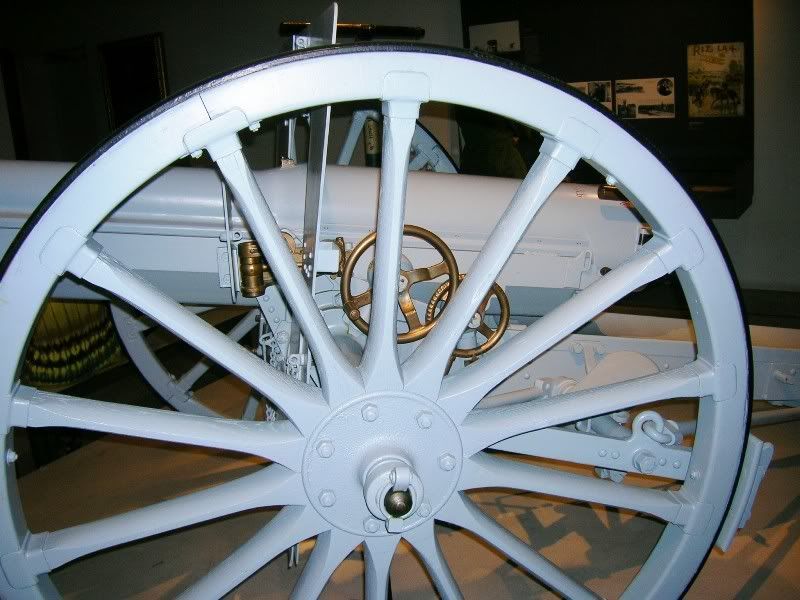
Since I want to use the 75mm gun for my French (and will give the American crew British guns and an Australian uniform) I will paint the gun and caisson grey. As reference I will use photo's I took in the French Army Museum (des Invalides in Paris) of the real thing. I will however make it a slightly darker shade of grey.
Part 3 - Finishing up.
Step 8
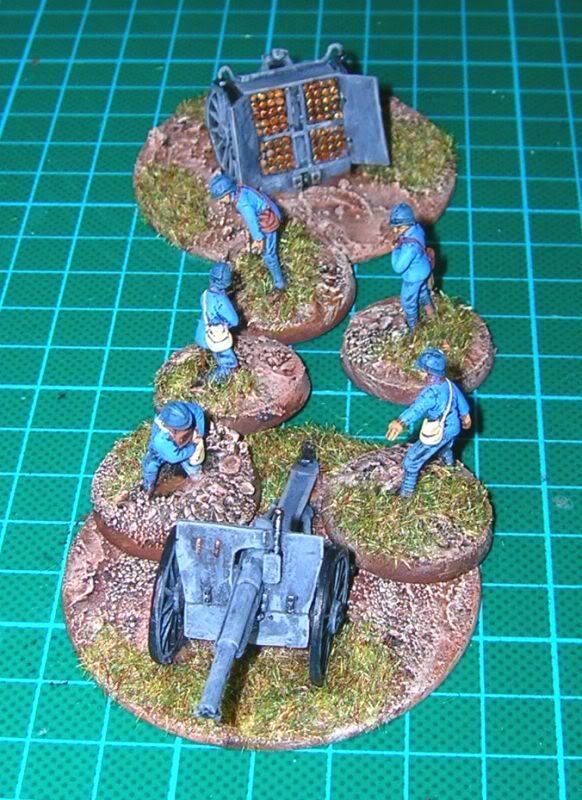
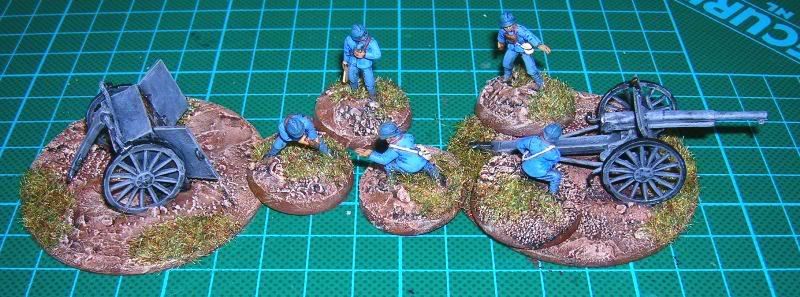
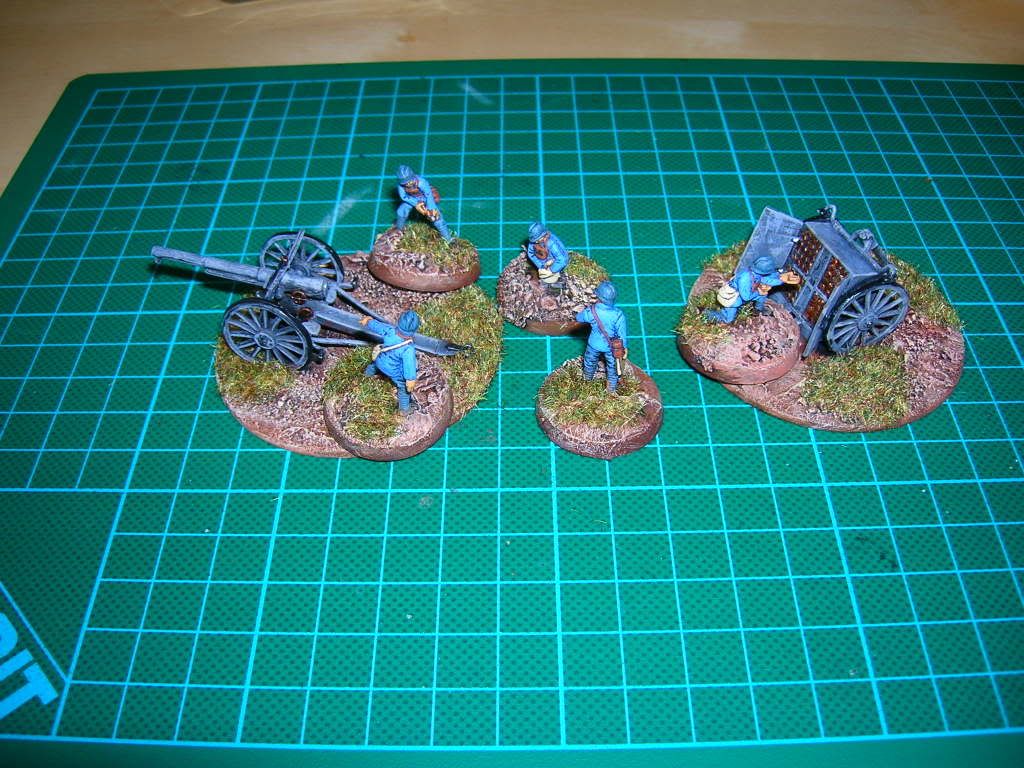
I have now finished the French Gun crew as you can see below. The Australians will take some more time and I will probably sent them in as a seperate ETS contribution later on when I have also done the metal British gun.
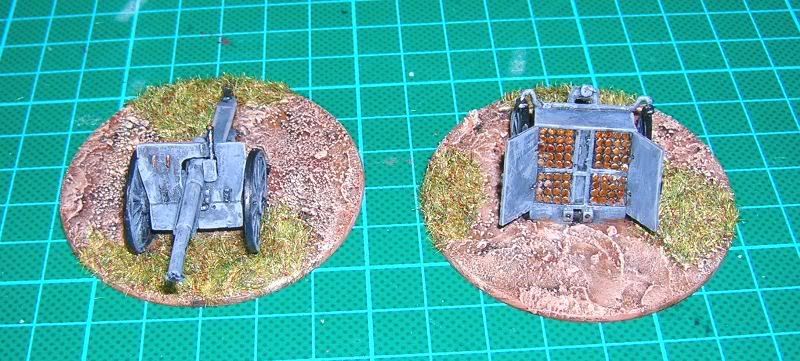
The French gun crew:


The gun and caisson:
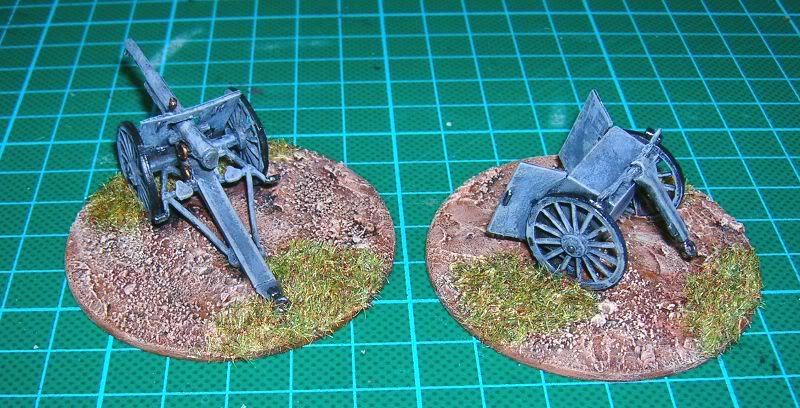
The crew and gun firing away at the enemy:
By now you will have noticed the riders and drivers lacking here. Well there's no real sense in showing them again since they have to wait for their team in order to be useful ;-)
Well that's it for this contribution! I hope you have found it at least a bit helpful. These sets are great value for money certainly combined with the horse team and limber to be released later on by HäT.
Cheers Sander!
Many thanks to Mr. van Straeten.
The Netherlands